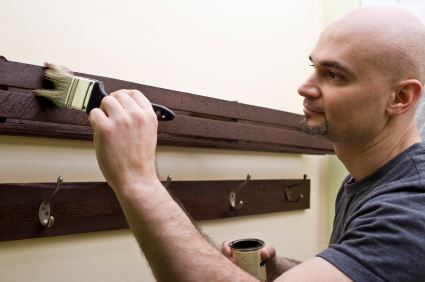
Tips For Perfectly Painted Interior Trim

Painting interior trim can instantly elevate the look of any room, adding a polished finish to your space. Whether you're a D-I-Y enthusiast or a first-time painter, achieving smooth, professional-looking trim is within your reach with a little know-how. Here are some tips to help you get started and make the process as easy and enjoyable as possible.
Gather Your Materials
Before diving into the painting, gather all the necessary materials. Here's a handy checklist:
- High-quality paint: Choose a semi-gloss or high-gloss paint for trim. These finishes are durable, easy to clean, and highlight the trim's details.
- Primer: Essential for preparing the surface, especially if the trim is stained or has a dark color
- Painter's tape: Helps create clean, sharp edges.
- Sandpaper (120 and 220 grit): For smoothing the trim before painting.
- Caulk and caulking gun: To fill in gaps and seams for a seamless look.
- Paintbrushes: A 2-inch angled brush is perfect for trim. Invest in a high-quality brush to avoid shedding bristles.
- Drop cloths or plastic sheeting: To protect your floors and furniture.
Prep Like A Pro
Interior painting preparation is key to a flawless finish. Here's how to get your trim ready for paint:
- Clean the trim: Use a mild detergent and water to clean the trim, removing any dirt, dust, or grease. Let it dry completely.
- Sand the surface: Lightly sand the trim with 120-grit sandpaper to smooth out any imperfections. Wipe away the dust with a damp rag.
- Fill gaps and holes: Use caulk to fill in any gaps between the trim and the wall, as well as nail holes or dents. Smooth the caulk with a damp finger and let it dry.
- Tape-off edges: Apply painter's tape along the edges of the trim where it meets the walls and floors. Press the tape down firmly to prevent paint from seeping underneath.
- Prime the trim: Apply a coat of primer to ensure the paint adheres well and the color is even. Let the primer dry completely, then lightly sand with 220-grit sandpaper for an ultra-smooth finish.
Time To Paint
Now that your trim is prepped, it's time for the fun part — painting!
- Stir the paint: Give your paint a good stir to ensure it's well-mixed. Pour some paint into a smaller container for easy handling.
- Load the brush: Dip your brush into the paint, covering about a third of the bristles. Tap off excess paint to avoid drips.
- Paint in sections: Starting at the top, paint in long, smooth strokes, following the grain of the wood. Work in sections, maintaining a wet edge to avoid lap marks.
- Check for drips: Keep an eye out for drips or runs, and smooth them out with your brush as you go.
- Once the paint is dry, carefully remove the painter's tape at a 45-degree angle to reveal crisp, clean edges.
NOTE: Apply a second coat if needed.
Questions? Call All In One Power Washing & Painting at 989-397-2136!
From Power Wash to Perfect Finish: Your Complete Painting & Pressure Washing Experts in Bay City & Surrounding Areas.